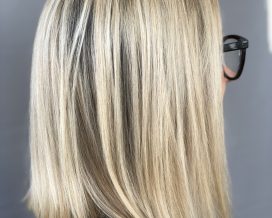
Big Thanks to Latest-Hairstyles for featuring our latest tutorial! Learn how to do this knotted side braid, a perfect quick and casual style for the holiday rush!
1. Create a large diagonal forward section of hair behind your ear.
2. Split the section into three equal subsections. Apply a bit of pomade to your hand (about half the size of a dime) and smooth out each section. This will help make a smooth, clean braid. Begin braiding (a basic, three-strand braid) this section, keeping medium tension on the braid. You do not want this braid too tight or too loose.
3. Braid almost all the way down to the ends of your hair, leaving one to two inches left below where you stop the braid.
4. Take two of the sections and combine them to make one larger section (you will now only have two sections, one small and one large).
5. Take the smaller section and carefully slide it up the braid.
6. Keep sliding the smaller section up to the top of the braid.
7. Now slide the section back down to create a looser “s” pattern braid.
8. Wrap the snake braid around the back of your head and pin in place. Spray with a medium hold hairspray to add extra hold and tame any flyaways.
*TIP* Lift a small section of hair up and pin your snake braid below it. Drop the hair down so that it conceals where you pinned the braid in place.
Read the whole story, and see more tutorials like this at Latest-Hairstyles.com!


